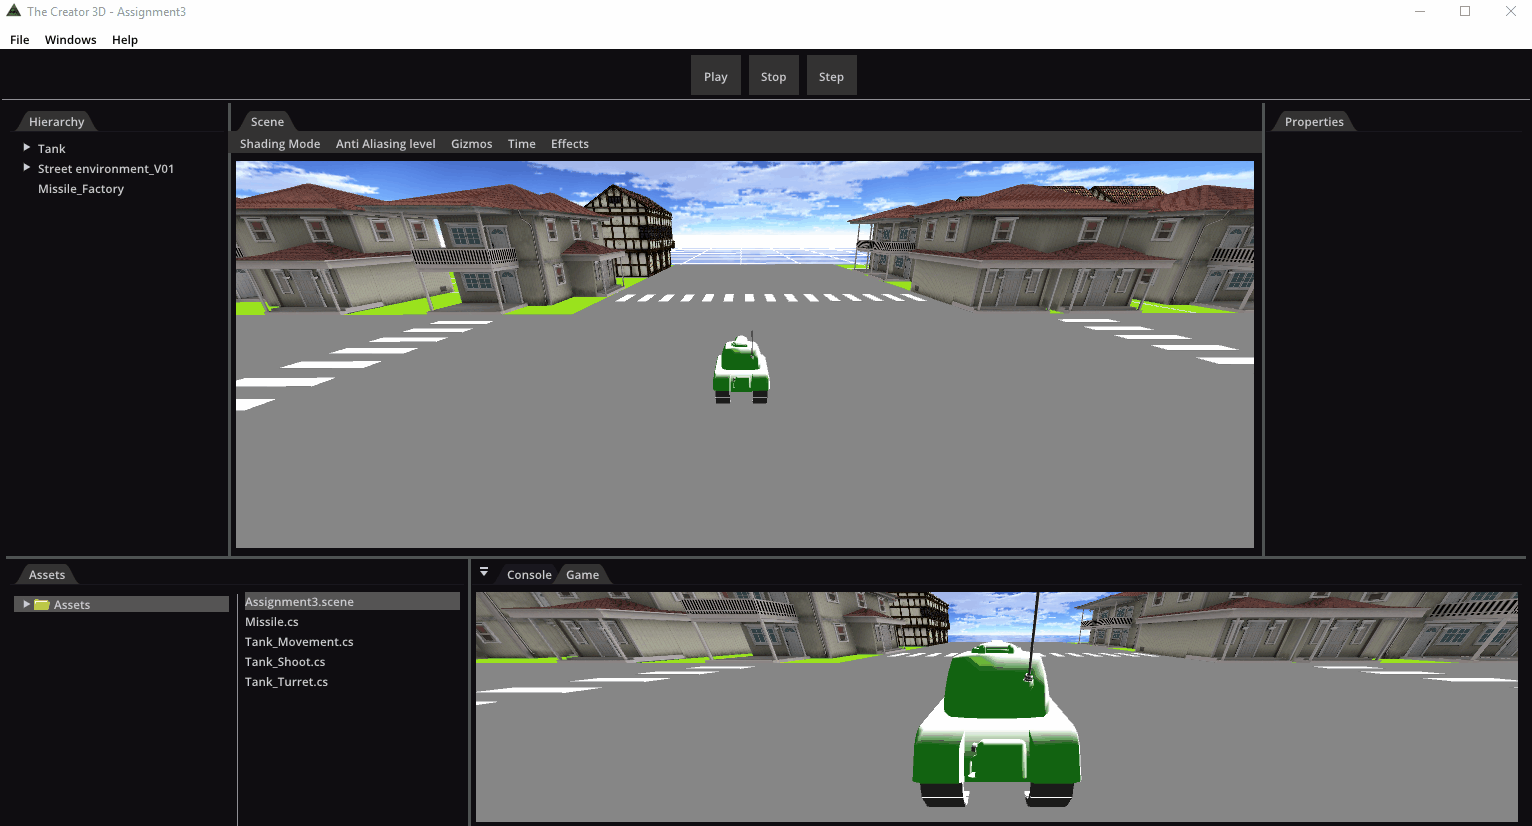
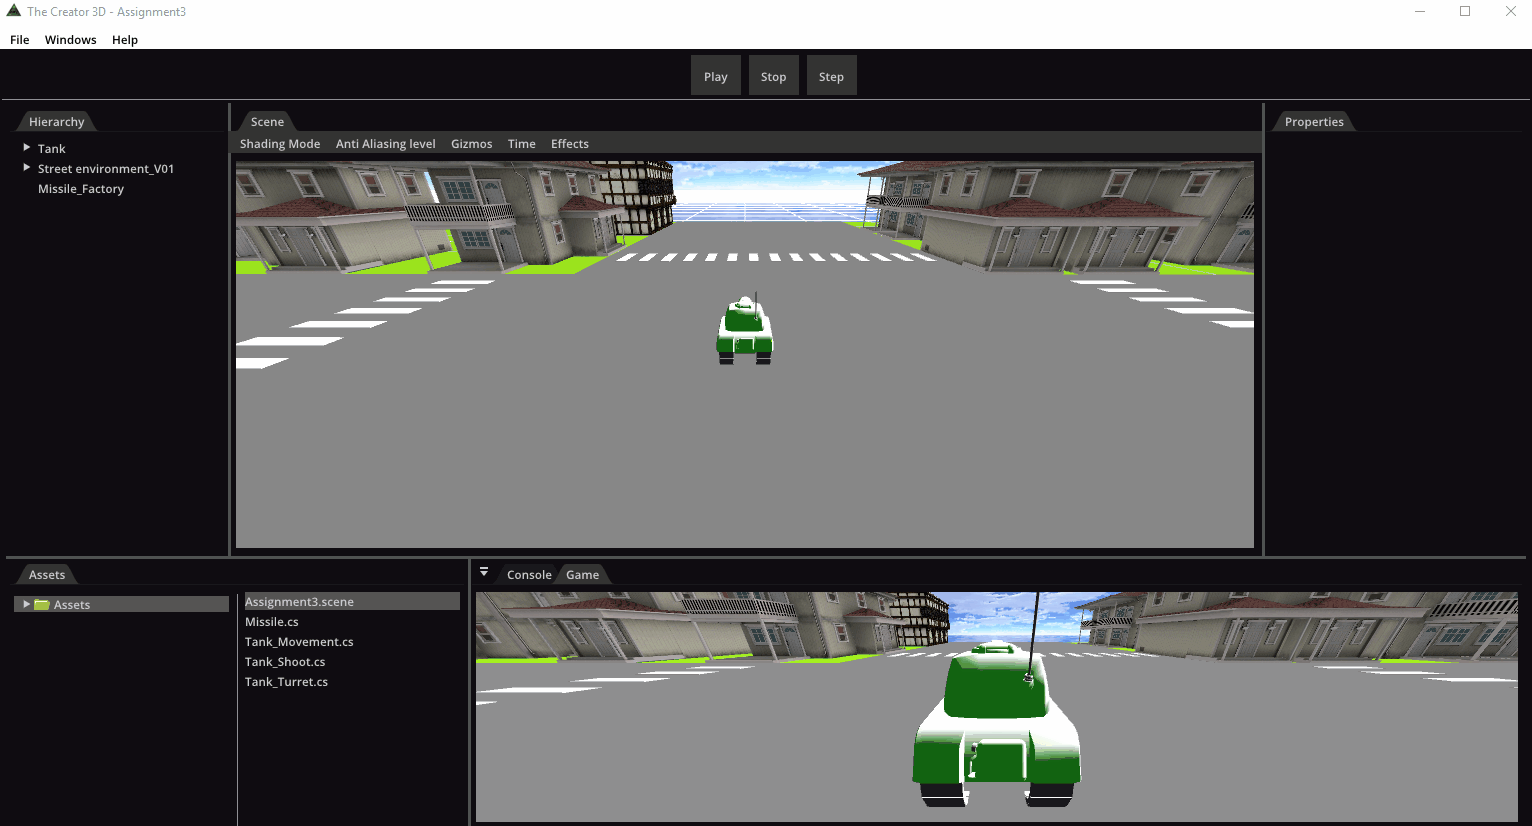
Particle System
Template System
The user will need to save the particles created with the system and use them later on, when a template is saved it’s included into a list all the emitters will have access to, in that way a template can be used easily anywhere in the project.
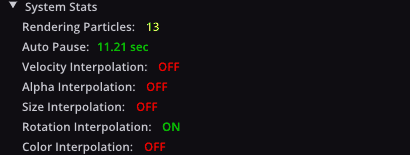
System Stats
All the properties of the system will be visible in this section.
Runtime Behaviour
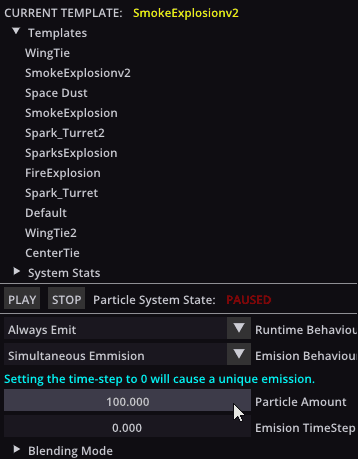
It will set the behaviour of the system once the game is running, if it’s set to “Always Emit” the system will emit particles constantly since moment zero, on the other hand, if we are using “Manual Mode” the system will not play until it’s told to do it, using a function from the scripting system.

Emission Behaviour
It will set the way the particles are being created, which can be:
- Continuous: it will emit particles one after the other.
- Simultaneous: it will emit a bunch of particles at the same time, when it’s activated we can set the Particle Amount which is the number of particles that will be created, and Emision TimeStep will set the difference between the launchments.

Particles emitted are following the properties set on the system. If TimeStep is 1 and Particle Amount is 20, the system will emit a bunch of 20 particles each second.
Blending Mode
It will let the user select between different blending modes from OpenGL.

Position Type
This option will let the user select between Local Position or World Position in particles emitted.

Emit Area
This section will let you adjust everything related to the box from where the particles are being emitted.

Textures & Animations
This system consist on a queue of textures that will be changing over time, the user will have the capability to manage the position of textures inside this queue as well as modify the framerate in which they are displayed :
 Add to Stack button needs to be pressed in order to add a texture to the queue, animation will just happen if there is more than one texture on the queue and TimeStep is larger than 0.
Motion
This is the basis of the system since it will let the user control the movement of the particles, the section consist on the following:
Velocity
This will let you make adjustments to Launching Velocity and modify the velocity over lifetime.
 This will let you modify the velocity between two marks, this example would start to interpolate from 0.4s to 1s and will slow the particle from 5.0 to 0.3.
Size
This will let you make adjustments to Initial Size and modify the size over lifetime.

Rotation
This will let you add an angular velocity to the particles and also modify this velocity over lifetime.

Alpha
This section will let you interpolate the alpha value of the particles in order to make them fade off.

Audio System
Wwise Implementation
The engine has been implemented to use the soundbanks generated by wwise to play music.
For that, events, states, soundbank reading, listeners and more have been adapted to the wwise guidelines.

Components
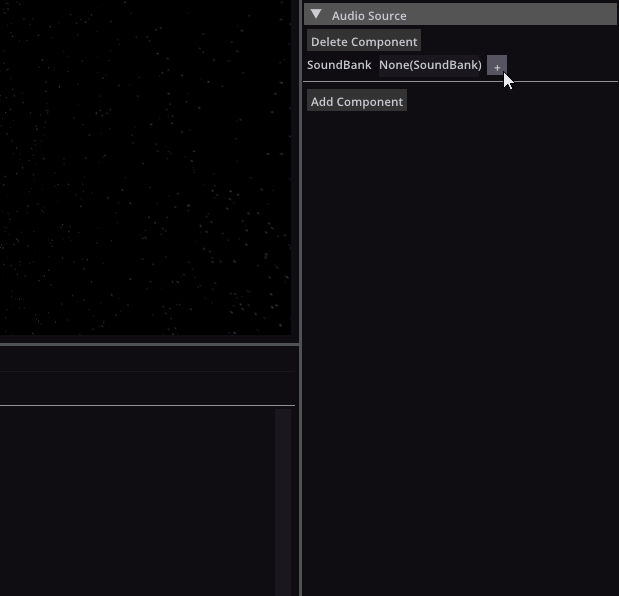
Audio Source
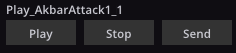
With the Audio Source the developer can set any soundbank imported from wwise.
The Audio Source contains a soundbank, which needs the proper events to be played.
The engine reads the name of the events from the generated json and prints it into a list in the audio source component
with three options: Play, Stop and Send.
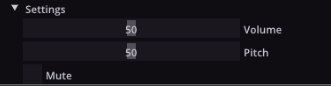
The Settings at the bottom part of the audio source are used to set the volume and pitch of the audio source. To work
properly, the Volume and Pitch RTPCs must be created in wwise previously.
Also, Resume and Pause are implemented in game, which are just events that must be played during the game when it is needed.
Listener
The Listener uses its position to recieve the sound properly. Wiithout it no sound will be heard.
If the sound emitter is at the right of the listener, the player will hear the sound from the right, and if it is on the left,
it will sound on the left.
Wwise implementations
Scripting System
Our Scripting System uses C#. We are using C# because it is widely used and it provides good performance. It also targets game development. To implement scripting with C# in our engine we are using Mono. To make the scripting system work, we have made copies of some of our C++ classes, and ported them to C#. This allows mono to compile the scripts we write in C#, and pass the data to our actual C++ classes.
Script Editor
The engine has a built-in text editor to edit the scripts directly without necessety of visual studio
Script In Action
The Script are simple to use. Just add them as a component to the gameobject and assign the public variables if necessary
Scripting API
You have a web page with all the API
Physics System
For the physics system we used the PhysX library from nVidia.

Although many things can be done with this library, we have used it only to detect collisions and to do raycast for the obstacle avoidance.
UI System
The UI System provides ingame persistent UI that can be easily used to create orthographic and world UI.
The system is entirely made from scratch with a custom engine renderer.
The system has the current UI elements.